ClickSend SMS Provider Configuration
FS PBX provides two-way SMS and MMS support via ClickSend. This guide explains how to:
-
Add ClickSend credentials to your
.env -
Retrieve the Subaccount ID used to authenticate inbound messages
-
Enable ClickSend on phone numbers in Message Settings
1. Required Environment Variables
Add the following variables to your .env file:
CLICKSEND_USERNAME=
CLICKSEND_API_KEY=
CLICKSEND_BASE_URL=https://rest.clicksend.com
What Each Value Does
| Variable | Purpose |
|---|---|
| CLICKSEND_USERNAME | API username used for outbound API calls to ClickSend. |
| CLICKSEND_API_KEY | API key paired with CLICKSEND_USERNAME for outbound authentication. |
| CLICKSEND_BASE_URL | Base URL for ClickSend's REST API. Default: https://rest.clicksend.com. |
2. Getting Your ClickSend API Username & API Key
-
Log in to your ClickSend dashboard.
-
From the left-hand menu, go to:
Developers → API Credentials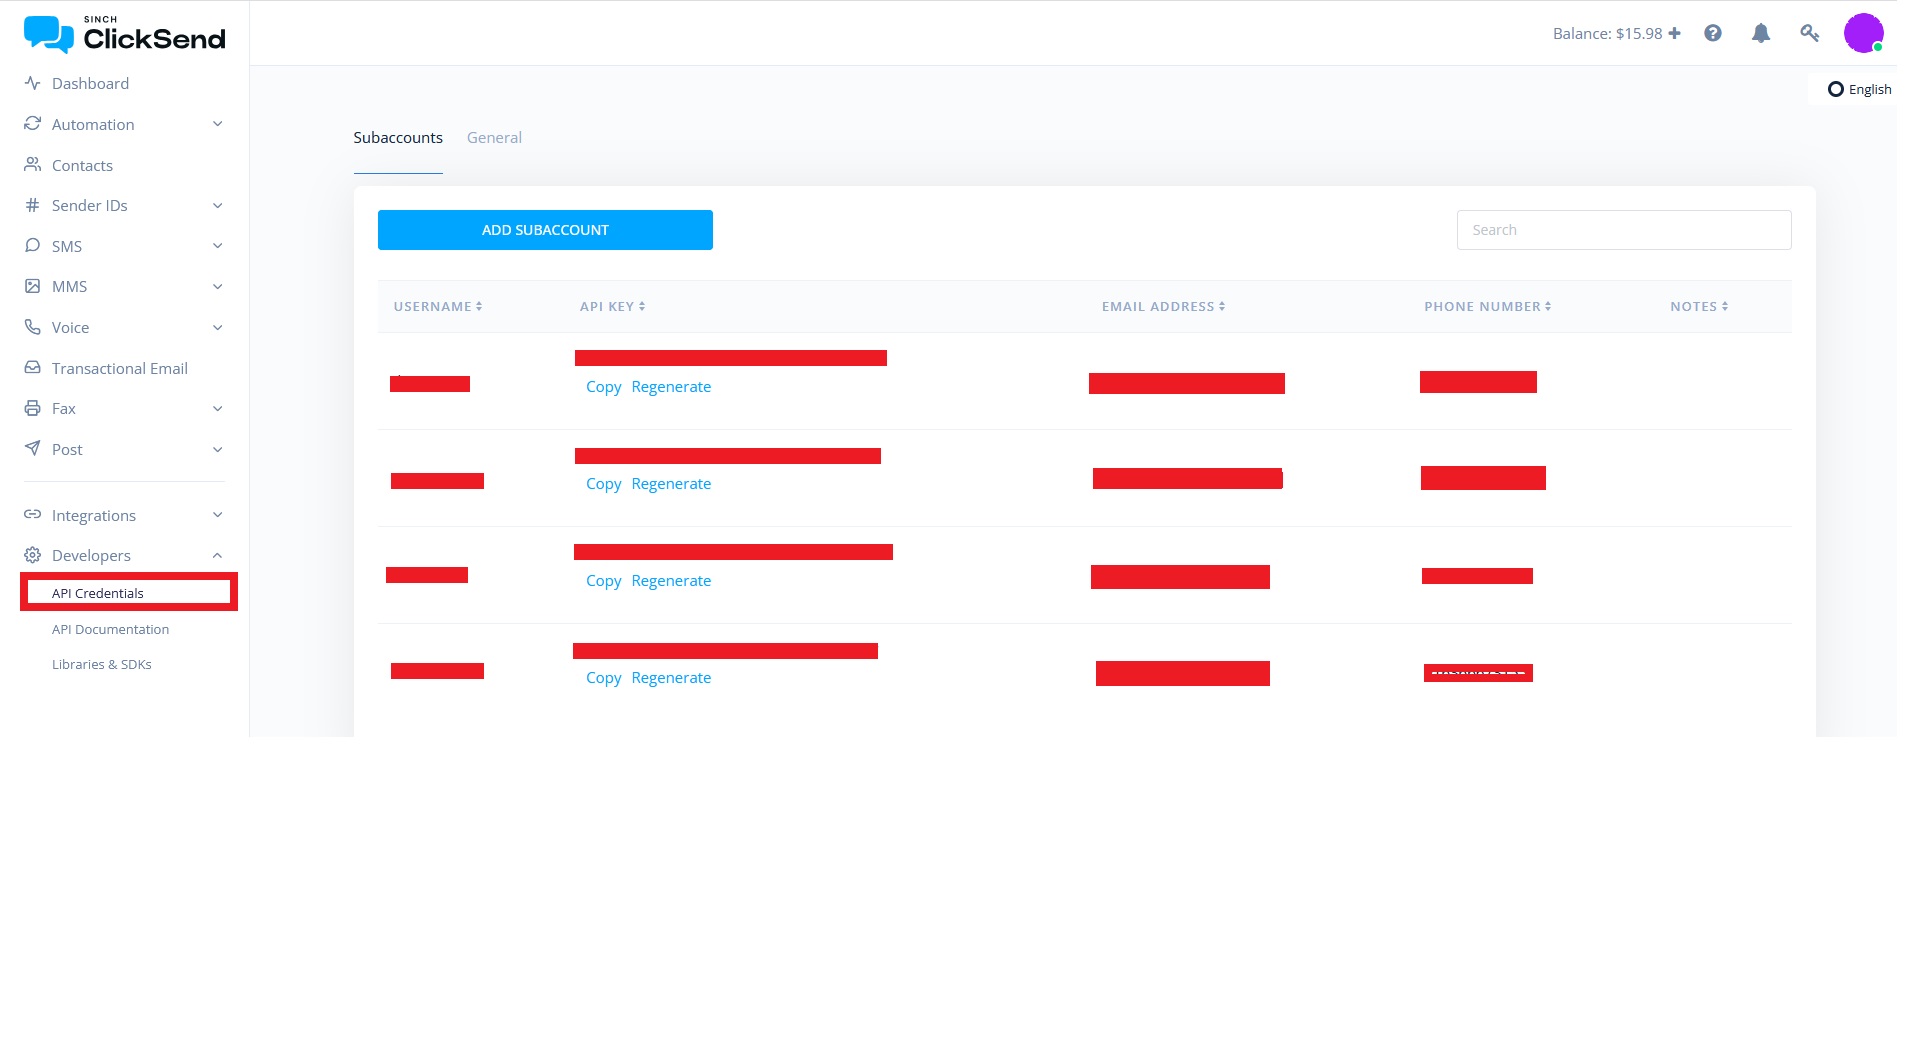
-
Here you can:
- See or regenerate your API Username and API Key
Copy:
-
The API Username →
CLICKSEND_USERNAME -
The API Key →
CLICKSEND_API_KEY
These will be used for outbound SMS requests from FS PBX.
3. Apply Configuration Changes
After updating .env, reload Laravel's configuration cache:
php artisan config:cache
If you skip this, FS PBX will continue using old values and ClickSend may not work correctly.
4. Webhook Setup for Inbound SMS
To enable inbound SMS via ClickSend, configure a webhook to send messages to FS PBX.
In ClickSend:
-
Go to SMS → inbound configuration (or equivalent section).
-
Set the Inbound SMS Webhook URL to:
https://your-domain/webhook/clicksend/sms
When ClickSend posts an inbound message:
-
FS PBX receives the payload at
/webhook/clicksend/sms -
If it matches, the message is accepted and routed to the correct extension
5. MMS Support
If your Apidaze number supports MMS, FS PBX can also process media attachments sent through the same messaging flow.
To use MMS media storage, S3-compatible storage must already be configured in your system. See the S3 Configuration for Messages guide.
This allows users to:
- receive inbound picture messages in the mobile app
- reply to supported MMS conversations
- keep SMS and MMS history together in the same conversation thread
6. Enable ClickSend on a Phone Number in FS PBX
Once credentials and (optionally) webhooks are configured:
-
Go to Advanced → Message Settings in FS PBX.
-
Add or edit a phone number.
-
Select ClickSend as the SMS provider.
-
Assign:
-
An extension → inbound SMS will appear in the FS PBX mobile app for that user.
-
Optionally an email address → for read-only email notifications.
-
Then:
-
Inbound SMS → ClickSend → FS PBX → Extension's Mobile App
-
Replies from the app → FS PBX (using
CLICKSEND_USERNAME+CLICKSEND_API_KEY) → ClickSend → Original sender
Summary
For full Telnyx SMS integration:
-
Add
.envvariables (CLICKSEND_USERNAME,CLICKSEND_API_KEY, etc.) -
Run
php artisan config:cache -
Configure Telnyx webhooks to
/webhook/clicksend/sms -
Enable SMS for each number in Message Settings
Your Telnyx numbers are now ready for reliable two-way SMS.